
1
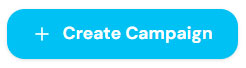
Click Create Campaign
From your dashboard, click the blue button to start a new campaign, or go to Campaigns in the left sidebar and click “Create Campaign”.
2
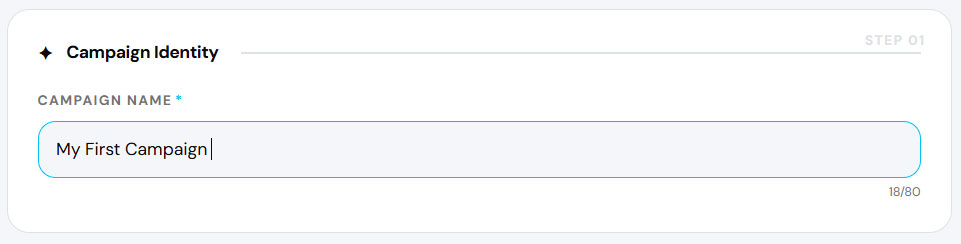
Enter campaign name
A campaign creation window will open. Enter a descriptive name for your campaign in the Campaign Name field.
3
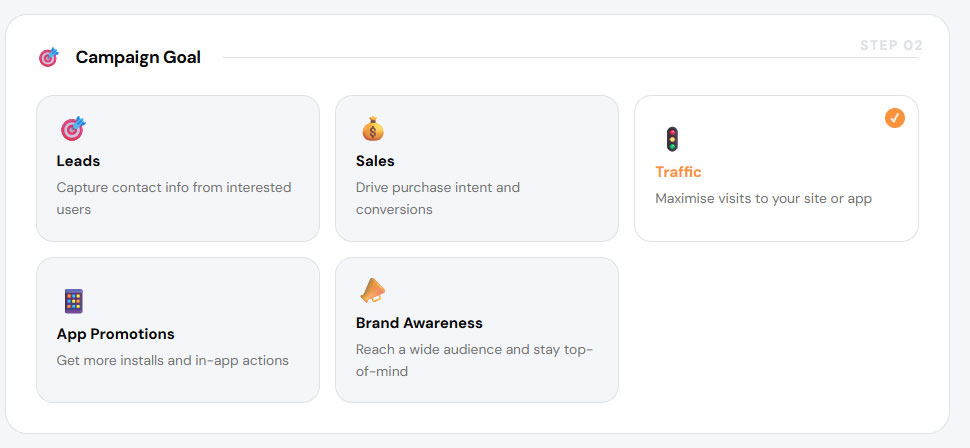
Select campaign goal — Traffic
In Campaign Goal, select Traffic.
4
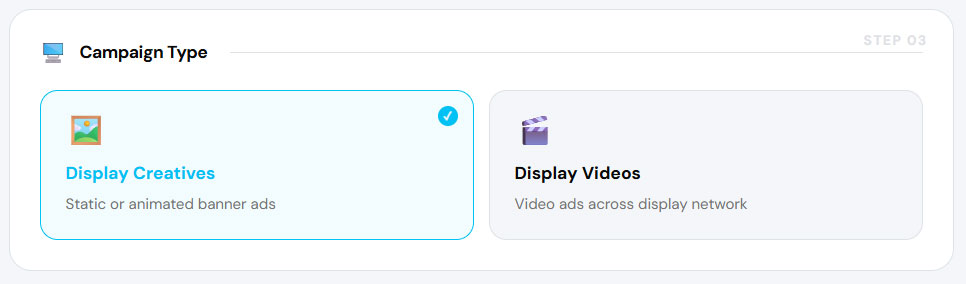
Select campaign type
Choose your Campaign Type:
- Display Creatives — run banner image ads.
- Display Videos — run video ads.
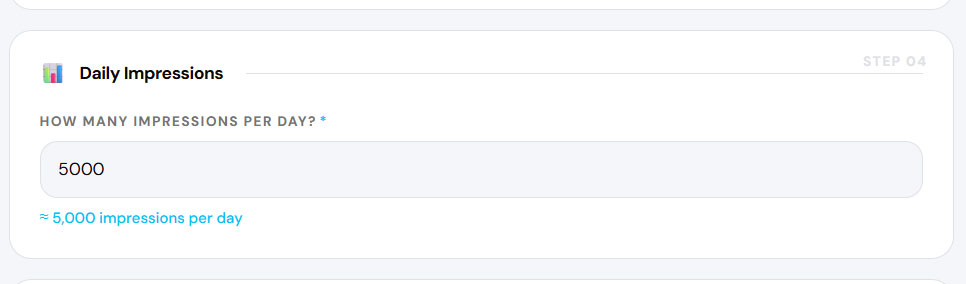
5
Enter daily impressions
Enter the number of Daily Impressions you want to spend. In geofencing, one impression equals one unique device ID.
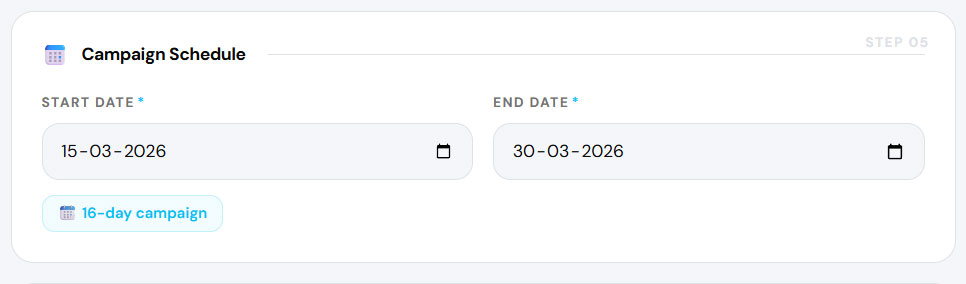
6
Set campaign start and end date
Select a Start Date and End Date for your campaign under Campaign Scheduling.
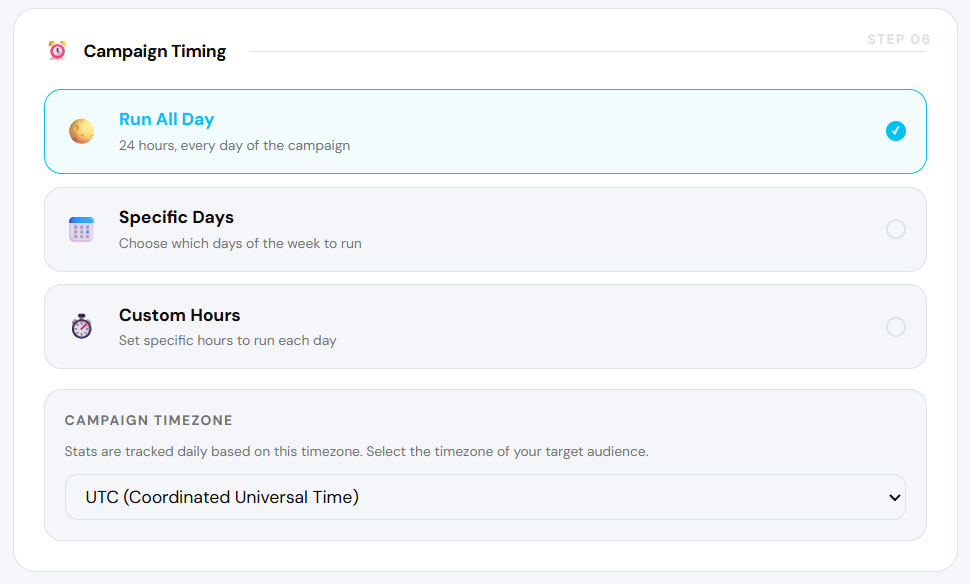
7
Select campaign timings and timezone
Choose how your campaign runs each day:
- Run All Day — runs 24 hours; algorithm picks the best times. Recommended for most campaigns.
- Specific Days — choose particular days. There must be at least a 7-day gap between start and end date.
- Custom Hours — set specific time ranges for each day.
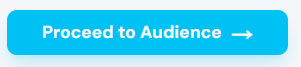
8
Click Proceed to Audience
Once all campaign details are filled in, click “Proceed to Audience”.
9
Select your audience
Select a saved audience from the list. If you haven't created an audience yet, visit the Create New Audience section first. Once selected, click “Proceed to Adset”.
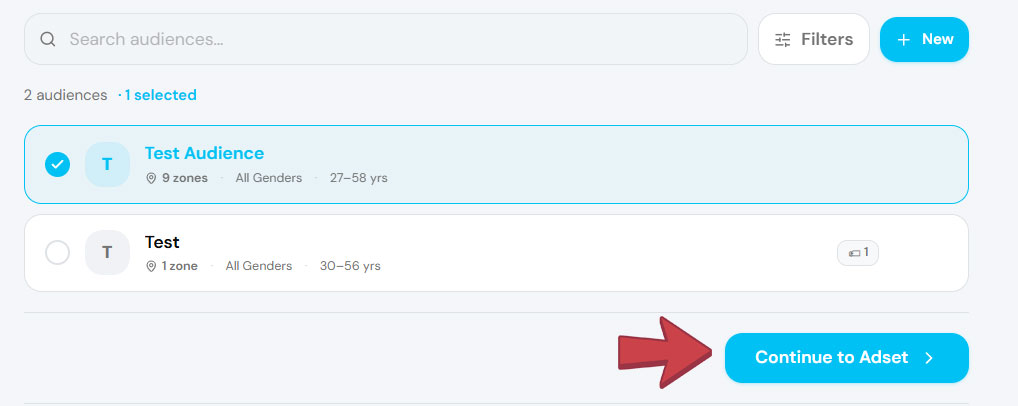
💡Note: Don't have an audience yet? Learn how to create one in the Create New Audience guide.
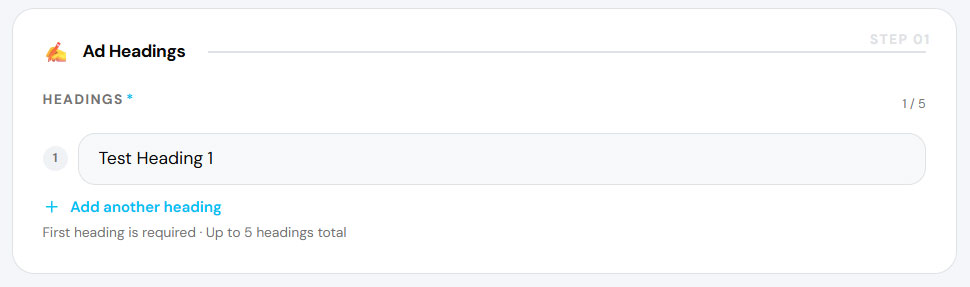
10
Add ad headings
In the Adset step, add your Ad Headings. You can add up to 5 headings for your ad.
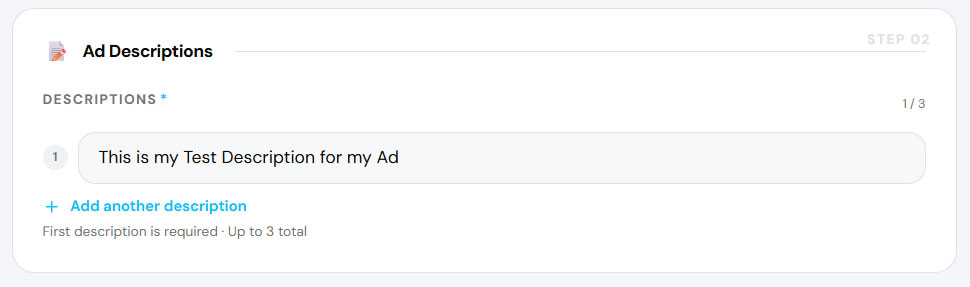
11
Add ad descriptions
Add your Ad Descriptions. You can add up to 5 descriptions that will appear below your ad heading.
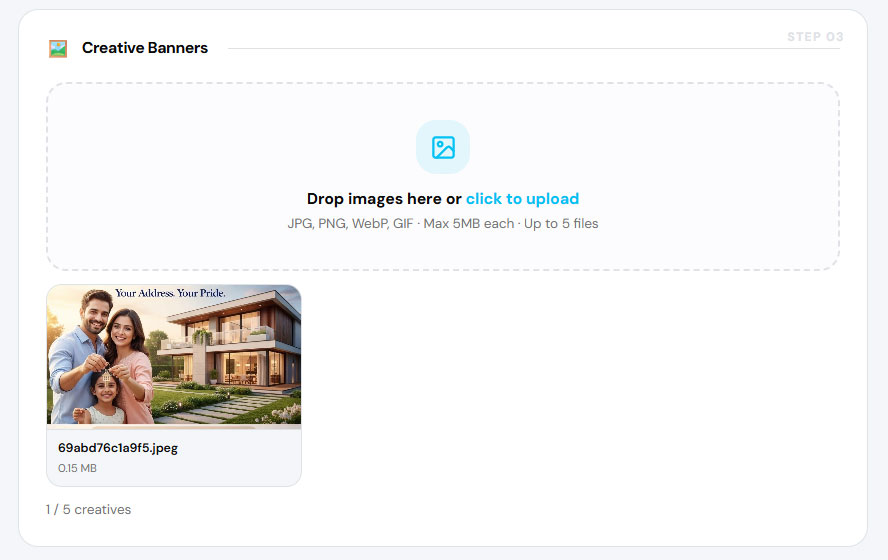
12
Upload display creatives or videos
Upload your ad creatives. The upload option depends on what you selected in Step 4:
- Display Creatives selected → banner image upload appears.
- Display Videos selected → video upload appears.
13
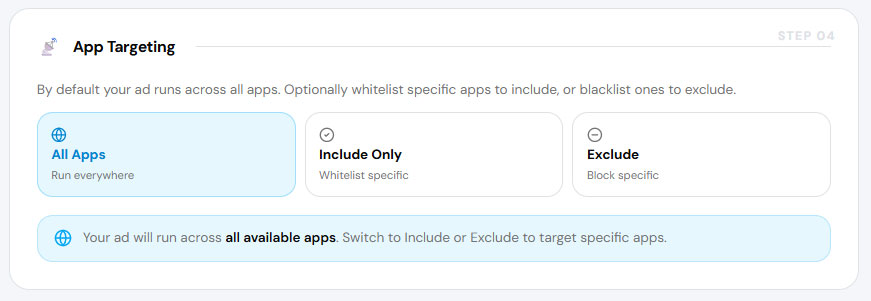
Configure App Targeting
By default, ads run on all apps that support third-party ads. You can customise this:
- Include Only — show ads exclusively on specific apps.
- Exclude — run on all apps except the ones you specify.
14
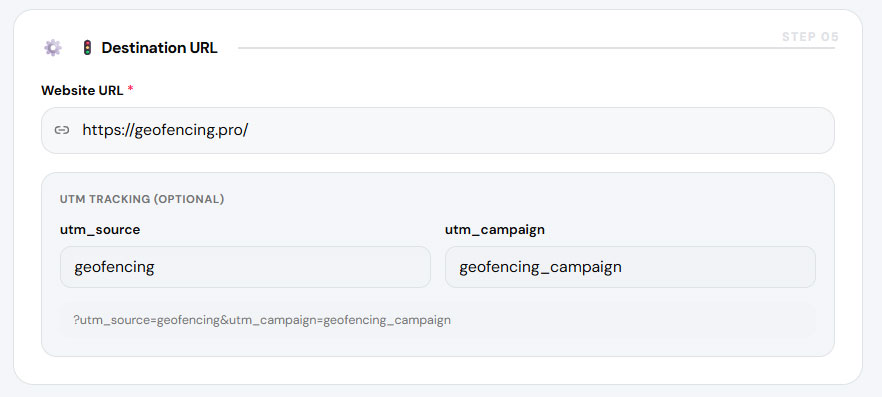
Enter destination URL
Since this is a Traffic campaign, enter the Destination URL where users will be directed when they click your ad — your website, landing page, or any target URL.
15
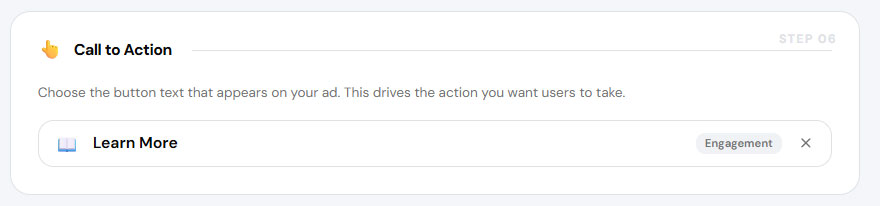
Select call to action
Select a Call to Action from the dropdown that best matches your campaign goal. This button will appear on your ad and direct users to take the desired action.
16
Click Review Campaign
Once all fields are filled, click “Review Campaign”. The system will check for any errors or missing information.

17
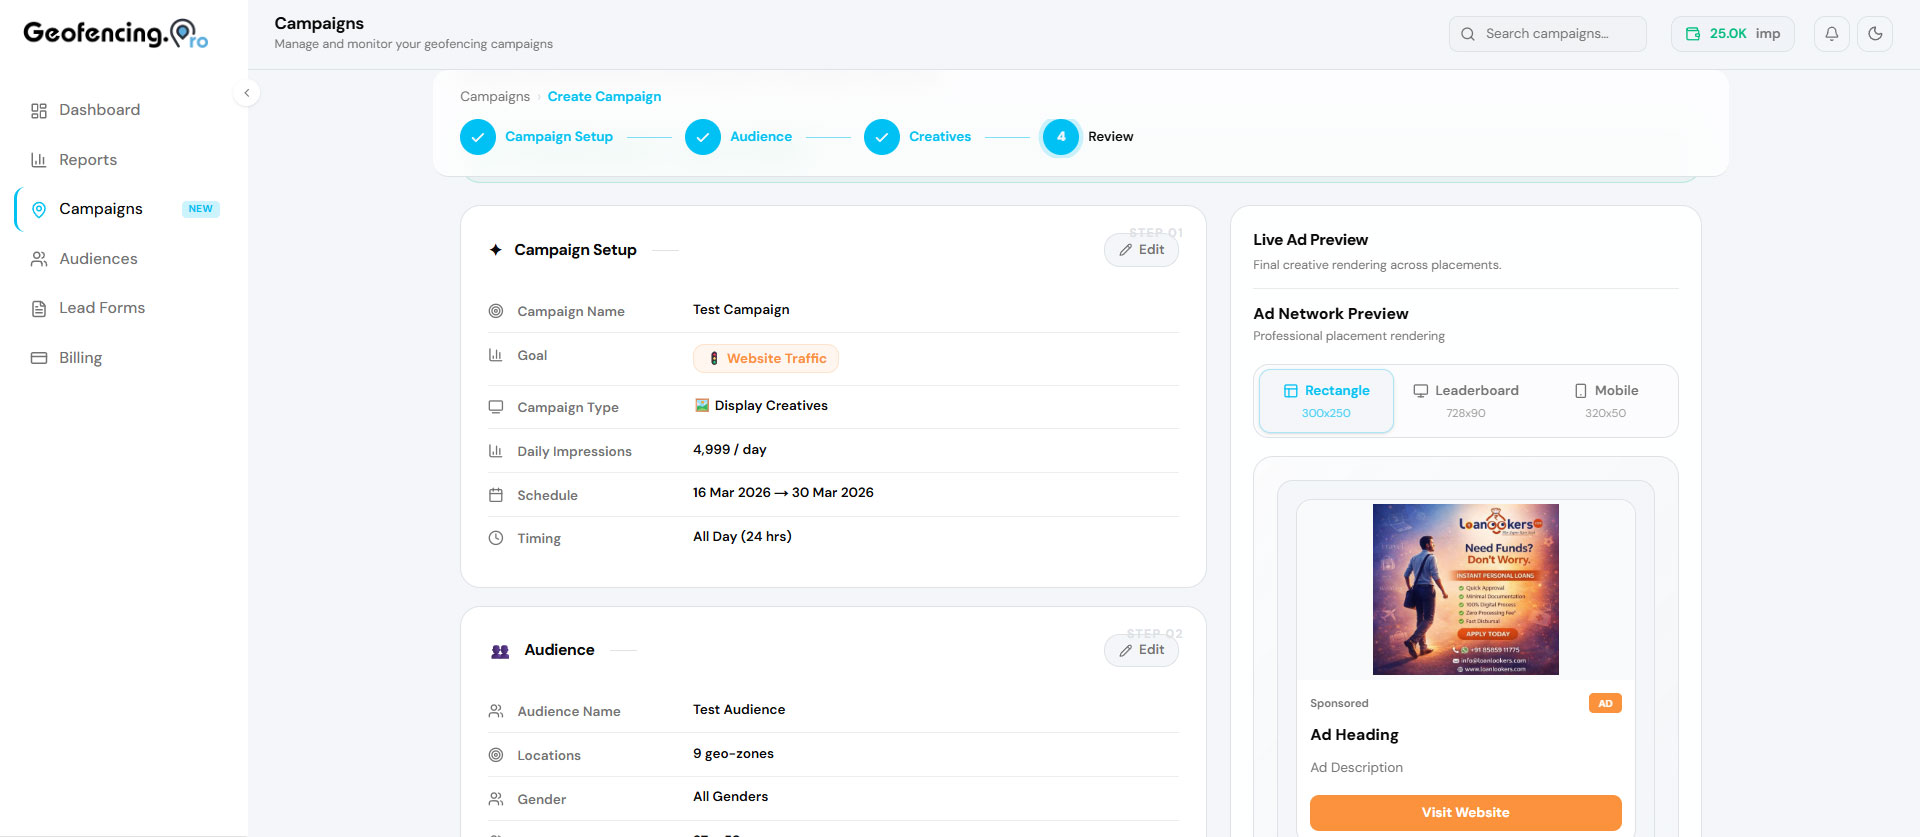
Final review with ad preview
Review your complete campaign summary and see a live preview of how your ad will appear to users.
18
Submit for review
If everything looks correct, click “Submit for Review”. Your campaign will typically go live within 7–8 hours, though in some cases up to 24–48 hours.
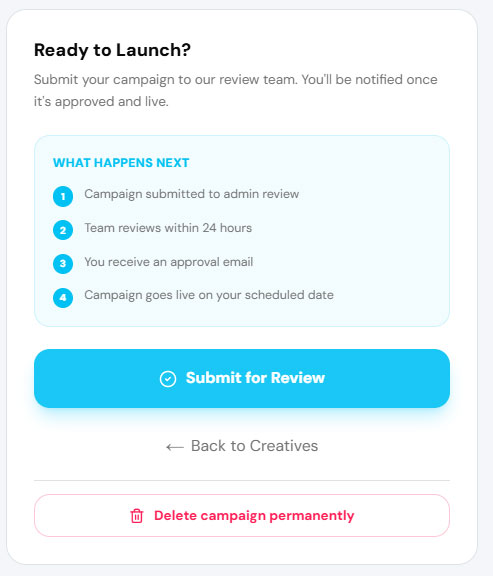
💡Note: Make sure your wallet balance is not zero — campaigns cannot be submitted without sufficient balance.
Your traffic campaign has been submitted! Monitor clicks and website visits from the Campaign Analytics tab once it goes live.